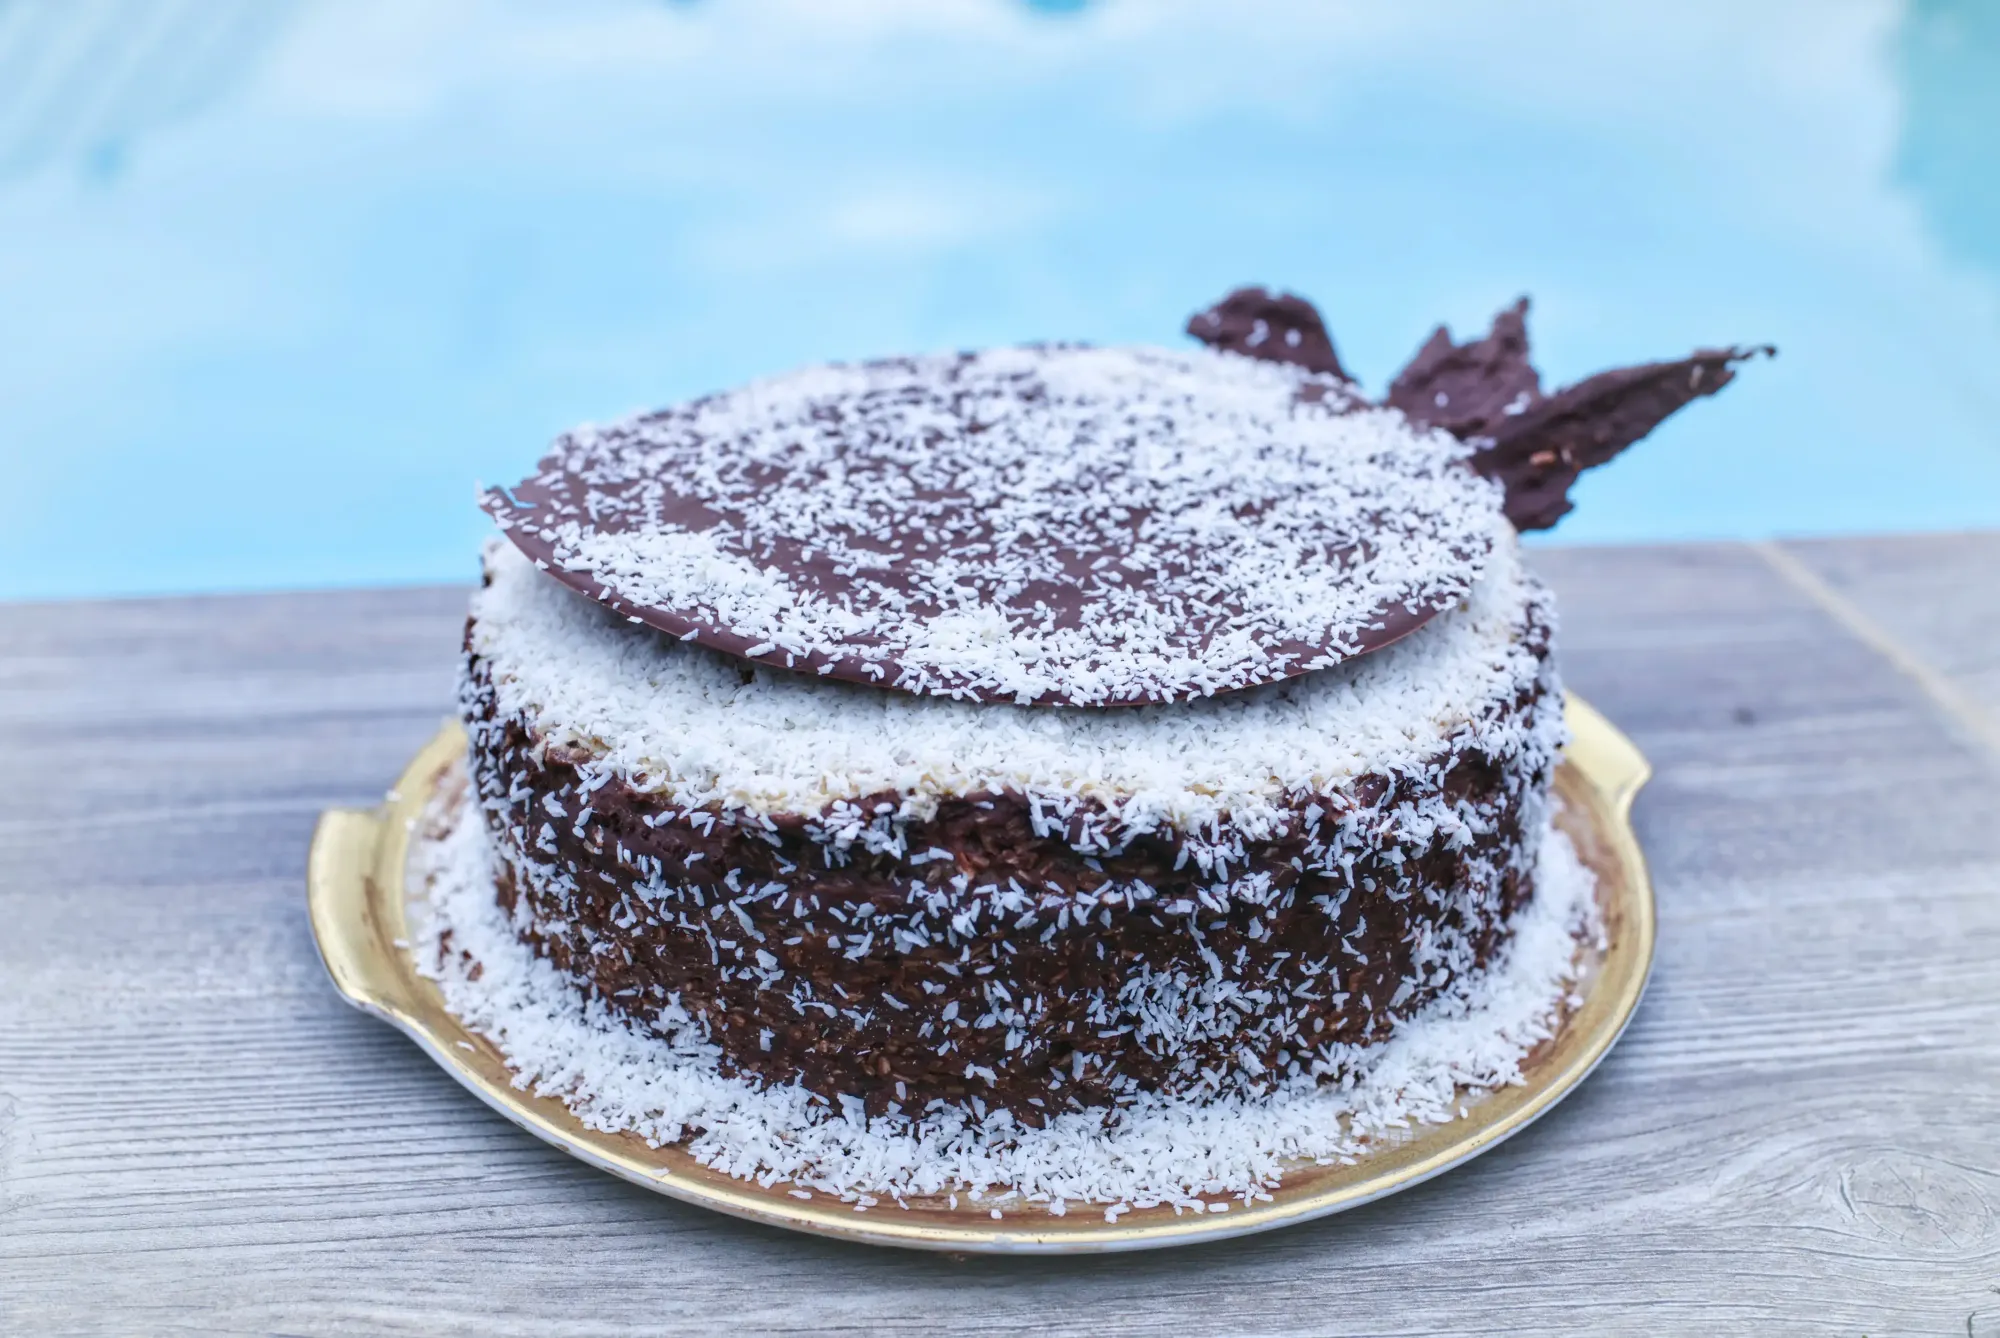
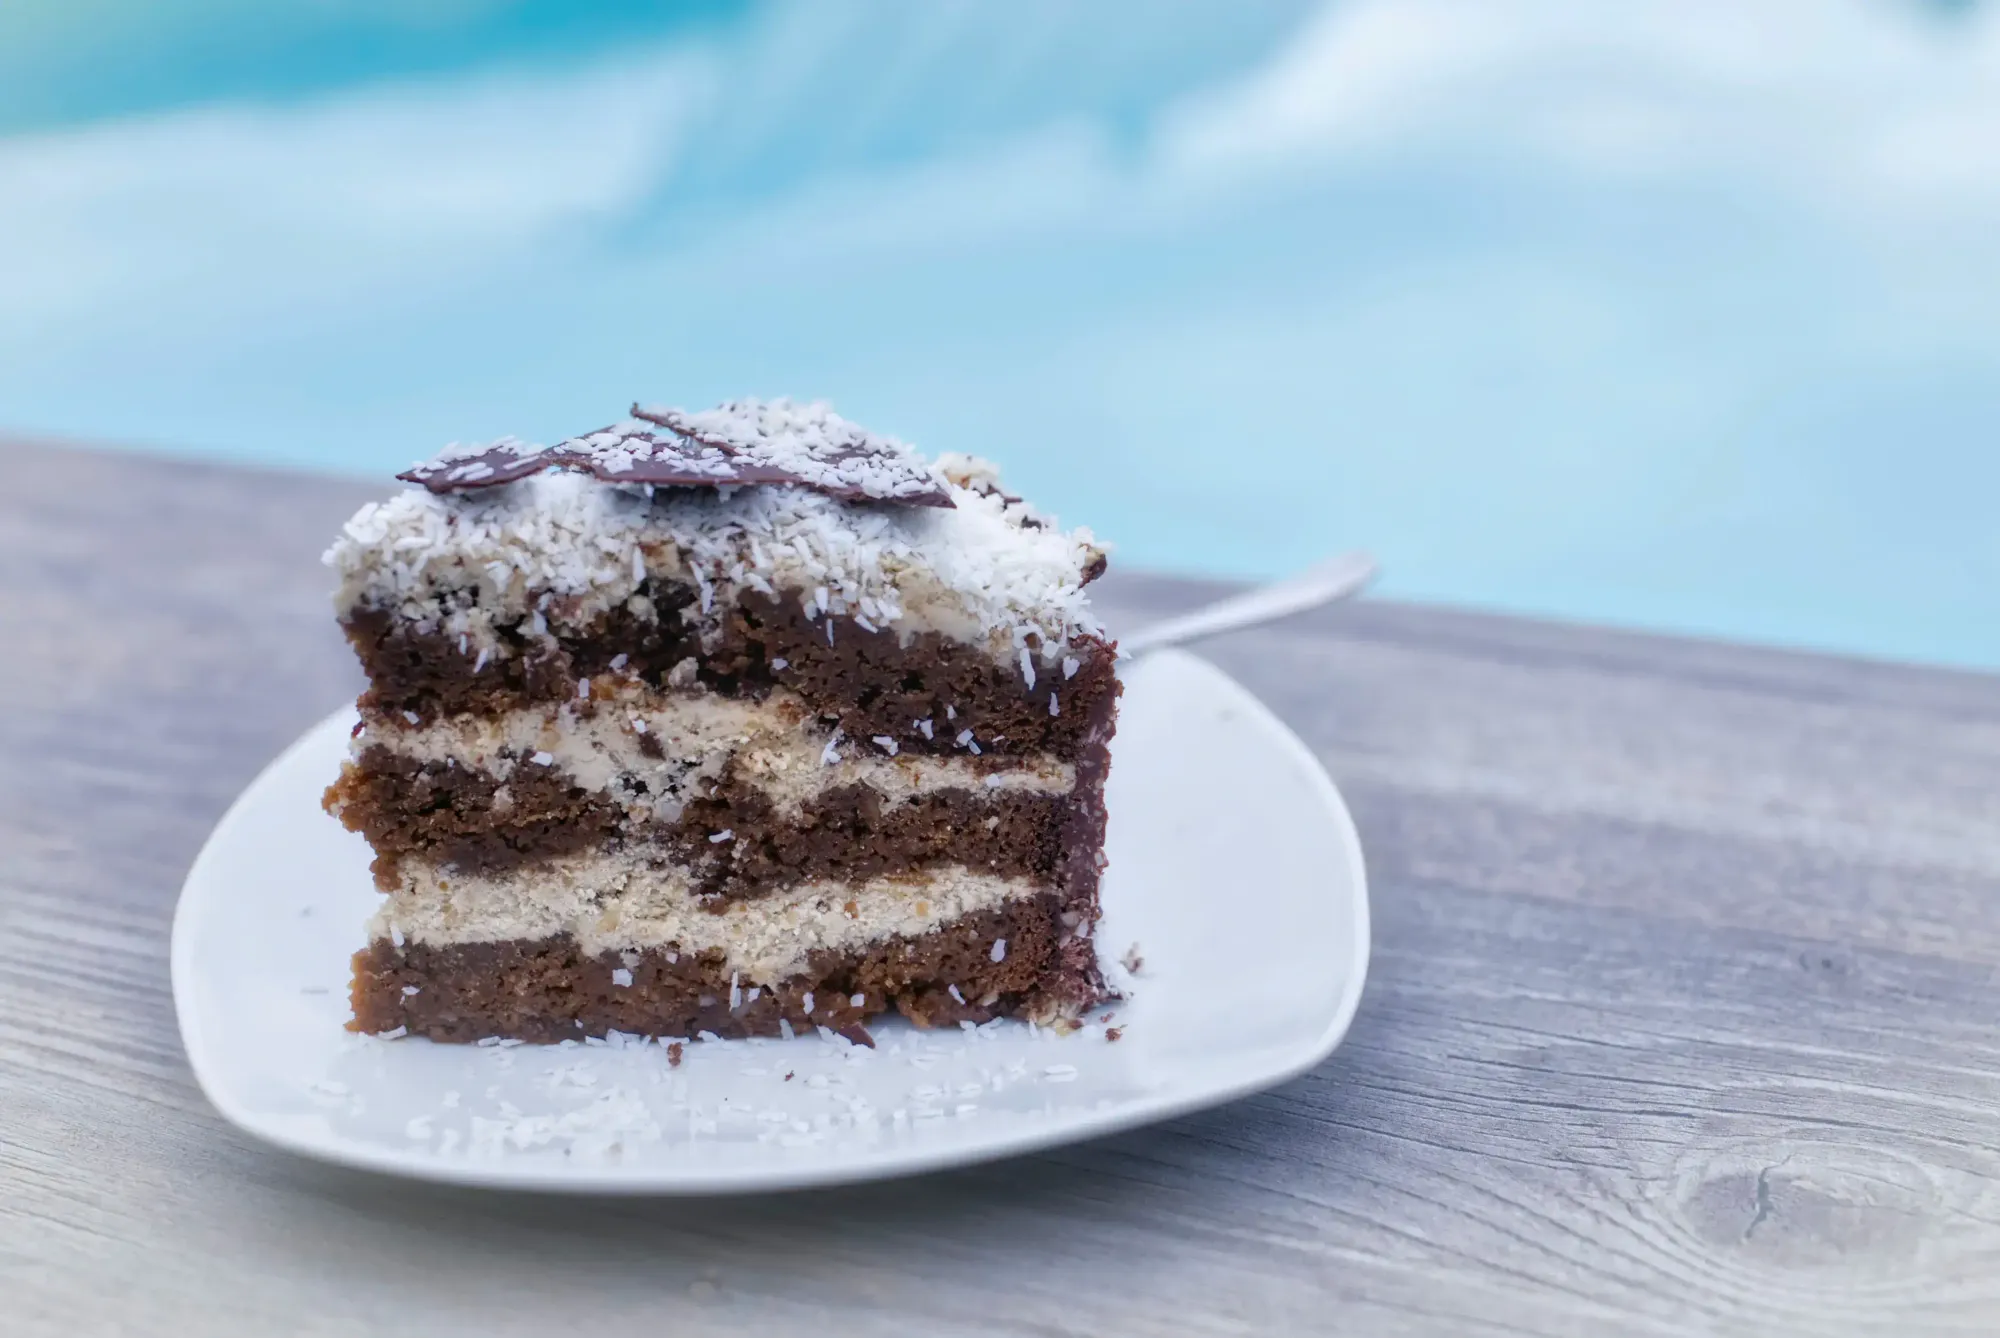
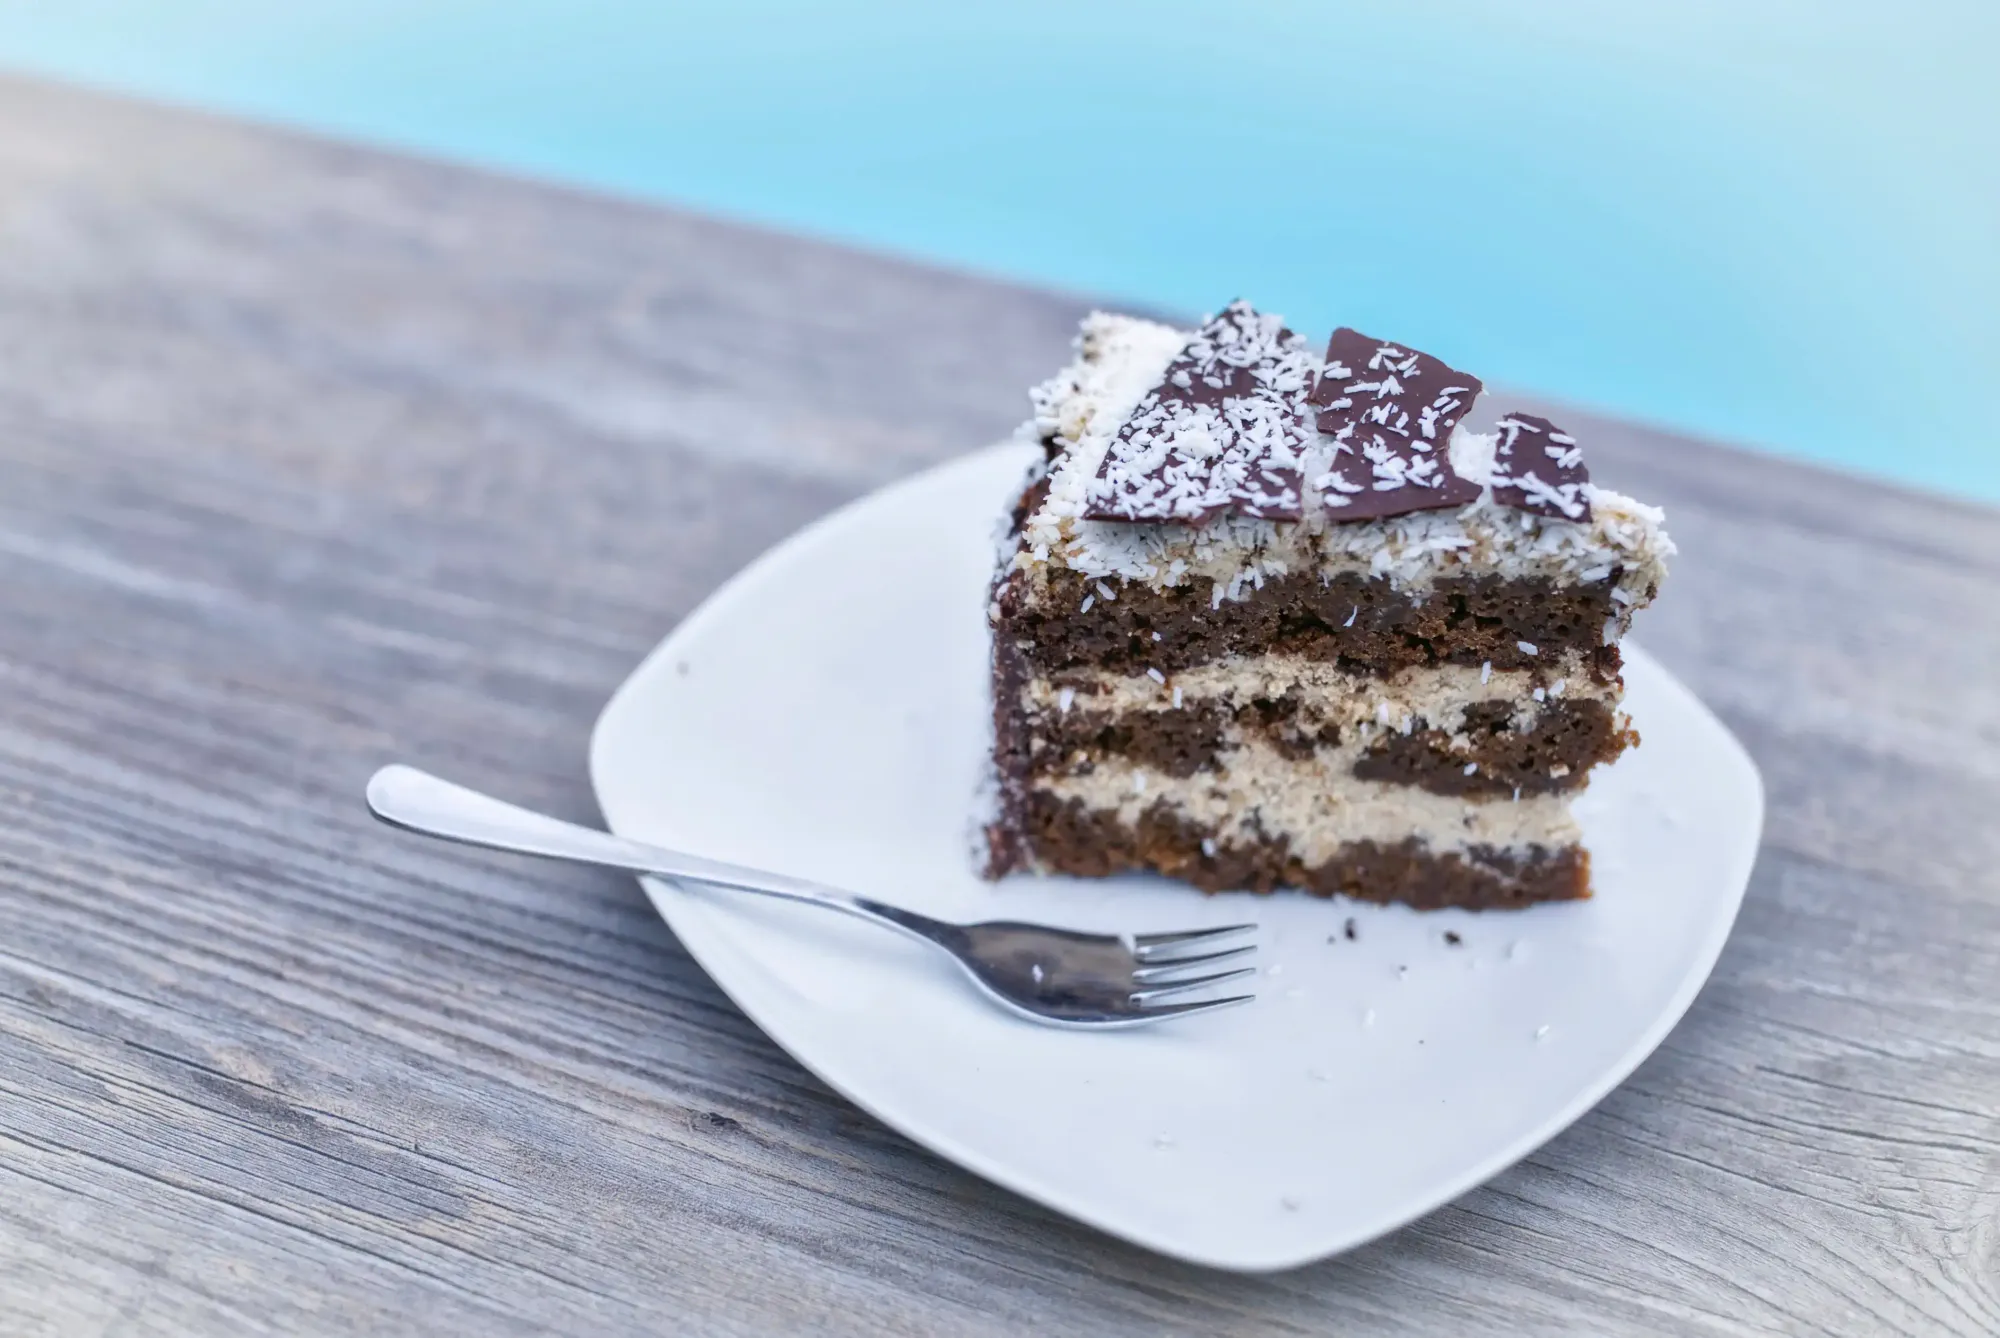
Coconut Bounty Paradise Chocolate Cake
Are you yearning to savour the delightful taste of coconut uniquely? Working with coconut flavours can be challenging, but we have an ideal recipe.

Summertime calls for lounging by the pool, soaking up the sun, and enjoying the refreshing waters. Amidst the sounds of laughter and splashing, one thing takes the summer experience to the next level: the Coconut Bounty Paradise Chocolate Cake. This heavenly dessert is the ultimate indulgence, blending the smooth and complex tropical flavours of coconut and chocolate into a delightful treat that's perfect for poolside enjoyment. If you are looking for the bounty-like chocolate crunch coconut feeling, that's a recipe you should try. Here's why the Coconut Bounty Paradise Chocolate Cake stands out:
1. Complex Coconut Flavours
2. Made with Fresh Coconuts
3. Cool and Creamy Sensation
4. Get that Bounty-Feeling
5. A Festive and Exotic Appeal
6. Perfect for Sharing
We choose coconut flower sugar for a healthier option that enhances the cake's flavour. Additionally, we incorporate only egg whites to prevent the cake from becoming dry, as adding the yolks would affect the moisture. When it comes to chocolate, we recommend opting for a high-cocoa-content chocolate.


After resting for two days in the fridge, the cake develops a robust and long aftertaste rich in various coconut flavours.
The recipe is for a 9-inch (22cm) cake pan.
Ingredients
- 2 and 1/2 cups (285g) finely milled flour
- 2 teaspoons baking powder
- 1 teaspoon salt
- 3/4 cup (12 Tbsp; 170g) unsalted butter (room temperature)
- 1 and 2/3 cups (330g) coconut flower sugar
- 5 large **egg whites **(room temperature)
- 1/2 cup (120g) sour cream (room temperature)
- 2 teaspoons pure vanilla extract
- 1 cup (240ml) unsweetened canned coconut milk (room temperature)
- 1 Coconut - sweetened shredded coconut flesh.
- 1 cup (80g) dried coconut flakes.
- 9 ounces (250g) of baking chocolate
Coconut Cream Cheese Buttercream
- 1 cup (16 Tbsp; 226g) unsalted butter (room temperature)
- 8 ounces (226g) full-fat cream cheese (room temperature)
- 5 cups (600g) cane powder sugar
- 2 Tablespoons (30ml) canned coconut milk
- 1/2 teaspoon pure vanilla extract
- 1/8 teaspoon salt
- 2 Coconuts - sweetened shredded coconut flesh.
Ⅰ. Preparing the Coconuts
To open the coconut, use a coconut knife. If you don't have such an essential tool, you can attempt it with the thinner side of a hammer, but be prepared for a mess.
After removing the flesh from the hard shell, cut it into smaller pieces. Place the pieces in a food processor and grind them until they are finely ground. Add some coconut flower sugar (according to your taste) while processing.
Ⅱ. Preparing Pans & Preheating
Preheat the oven to 350°F (177°C). Next, you'll need to choose between these two options:
- Option (recommend): Grease three 9-inch non-stick pans properly. This will make layering easier because we are not using the egg yolk.
- Option (if you do not have three pans): Properly grease one 9-inch non-stick pan. The baking time will be much longer; you will need a cake cutter wire to cut the layers.
In our video, you see us doing it with only one pan, and we wish we had done three pans afterwards.
Ⅲ. Making the Batter
Combine the flour, baking powder, and salt in a bowl; set it aside. Blend the butter and sugar in a separate bowl with a mixer for 2 minutes until the mixture is smooth and creamy. Beat the egg whites until they are well combined. After that, add the sour cream and vanilla extract. Gently add the bowl of flour mixture and pour in the canned coconut milk. Combine it all with the mixer until smooth, then add the shredded coconut flesh from our fresh coconut (make sure you leave two-thirds for the buttercream).
Ⅳ. Baking the Batter
If 1. Option: Divide the batter evenly into the cake pans and weigh them if you want to be precise. Bake for 21–23 minutes or until the cakes are fully baked. To check if they're done, insert a toothpick into the centre of the cake. If it comes out clean, they're ready.
If 2. Option: Pour the batter into the pan and cook for 40-50 minutes. The cooking time can vary, so doing the toothpick test multiple times is best. Once the toothpick comes out clean, the sponge is done.
Ⅴ. Making the Buttercream
Combine the butter and cream cheese in a large bowl using a mixer. Beat them together on medium speed until the mixture becomes creamy and smooth, which should take about 2 minutes. Add the powdered cane sugar, coconut milk, vanilla extract, coconut extract, and salt. Increase the speed to high and beat for 3 minutes. Adjust the frosting by adding more sugar if it's too thin, more coconut milk if it's too thick, or a little extra salt if it's too sweet.
Ⅵ. Assembling
First, use a large serrated knife to trim the top of the cakes, creating a flat surface. You can discard the trimmed parts or crumble them over ice cream! Next, place one cake layer on your cake stand (turntable). Then, evenly spread about 1 and 1/2 cups of frosting on top. Add the second cake layer and repeat the process. Finally, place the third cake layer and spread the remaining frosting over the top and sides.
Ⅶ. The Bounty Effect
Sprinkle the dried coconut flakes evenly on the buttercream surface; they will act as a good insulator when we pour the hot chocolate. Let the cake cool in the fridge for 20 minutes. Melt half of the baking chocolate in a pan and then spread the hot fluid chocolate evenly onto the sides of the cake. Sprinkle more dried coconut flakes on the chocolate sides quickly. Put it back in the fridge for 20 minutes and consider one of the next two options:
1. Option: (recommend): Melt the remaining chocolate in a pan and spread it evenly on top, fully covering the cake with crunchy chocolate. Sprinkle more dried coconut flakes on top while the chocolate is still hot, and quickly return it to the fridge. Let the cake rest for two days.
2. Option: Melt the rest of the chocolate in a pan and use a spoon to evenly spread the hot chocolate in a round shape on a baking sheet. Quickly sprinkle dried coconut flakes on top. Cool the chocolate in the fridge until it's solid, and then place the cold chocolate disc on top of the cake. Make sure you have cold hands for this option, as your body temperature will soften the chocolate quickly. Return the cake to the fridge and let it rest for two days.


